Step-by-Step Guide to Transferring Your Domain to New Hosting
In the dynamic world of web hosting and domain management, the need to transfer your domain to a new hosting provider may arise for a variety of reasons—be it improved services, better pricing, or enhanced features that better align with your growing digital needs. However, navigating the transfer process can often seem daunting to many. Fear not! In this comprehensive step-by-step guide, we aim to demystify the domain transfer journey, providing you with clear, actionable insights to ensure a seamless transition. Whether you’re a seasoned web developer or a small business owner venturing into the digital landscape, this article will equip you with the knowledge and tools necessary to make the migration process as smooth as possible. Let’s delve into the essential steps to successfully transfer your domain and optimize your online presence!
Table of Contents
- Understanding Domain Transfer Basics
- Preparing for a Seamless Transition
- Executing the Domain Transfer Process
- Post-Transfer Steps for Optimal Performance
- In Conclusion
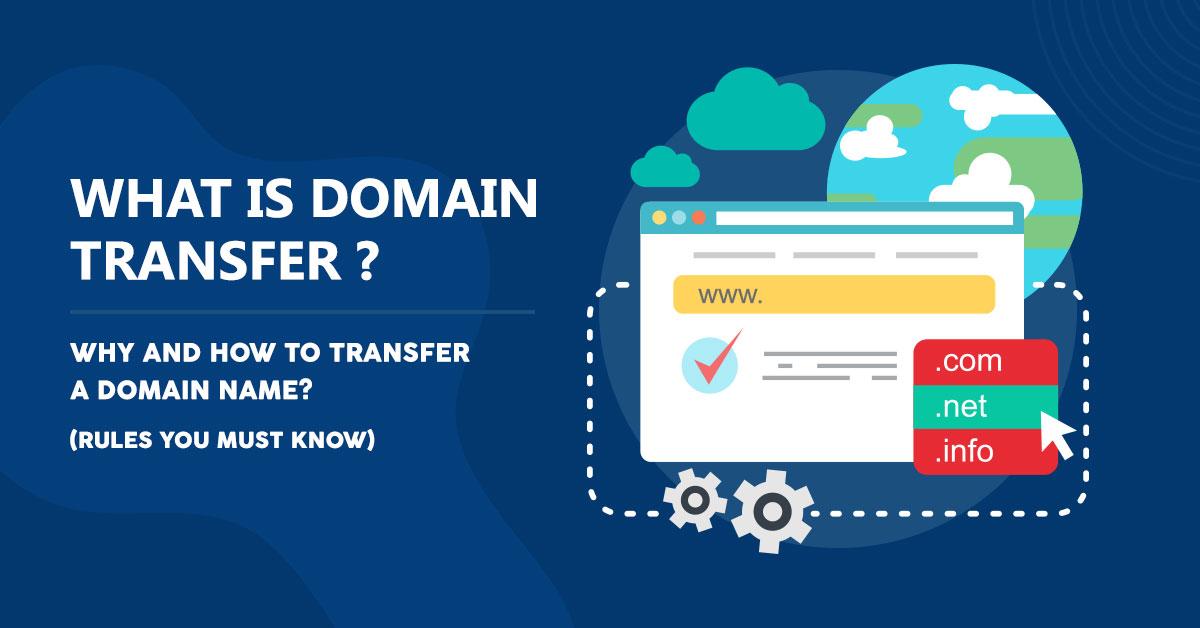
Understanding Domain Transfer Basics
Transferring a domain involves several important steps that ensure your online presence remains uninterrupted. First, it’s essential to check if your domain is eligible for transfer. Domains typically need to be at least 60 days old and should not be locked or on hold due to a recent transfer or change in registration details. Before initiating the transfer, make sure to gather necessary information such as your domain’s authorization code, which you can obtain from your current registrar. This code acts as a security measure, protecting your domain from unauthorized transfers.
Once you have confirmed your eligibility and gathered your materials, you can begin the transfer process. Here are some key actions to take:
- Unlock your domain: Disable domain lock settings in your registrar’s control panel.
- Request the transfer: Follow the instructions provided by your new hosting provider to initiate the domain transfer.
- Approve the transfer: Check your email for a transfer approval request and follow the link to confirm.
The transfer process usually takes a few days, but staying proactive by monitoring the transfer status is crucial. Knowing these basics will help make the transition seamless and stress-free.
Preparing for a Seamless Transition
Successfully transferring your domain to a new hosting provider requires careful planning and execution. Start by preparing a checklist to ensure you don’t overlook any critical steps during the process. Some essential tasks include:
- Backing up your website data: Ensure you have a complete backup of your files and databases to avoid data loss.
- Unlocking your domain: Access your current registrar’s dashboard and unlock your domain for transfer.
- Securing EPP code: Obtain the authorization code from your current provider, as it’s necessary for the transfer.
Next, inform your visitors about the upcoming changes to maintain transparency and trust. Consider creating a simple notification banner on your site to alert them of possible downtimes. Here’s a quick reference table summarizing the timeline of your transition:
| Task | Timeline |
|---|---|
| Backup Data | Days 1-2 |
| Unlock Domain | Day 3 |
| Request EPP Code | Day 3 |
| Initiate Transfer | Day 4 |
| DNS Propagation | Days 5-7 |
Executing the Domain Transfer Process
To successfully execute the domain transfer process, start by gathering essential information related to your current domain registrar and the new hosting provider. Ensure that you have access to your domain management console where you can unlock your domain. This step is crucial as locked domains cannot be transferred. Additionally, obtain the Authorization Code (also known as EPP code) from your existing registrar. This is a unique code that validates your ownership of the domain and allows the transfer to proceed.
Once you have your domain unlocked and the authorization code ready, log into your new hosting account. Look for the option to transfer a domain and enter your domain name along with the authorization code. This process typically involves the following key actions:
- Verify Domain Ownership: Confirm that you own the domain by responding to any verification emails sent to your registered contact email.
- Payment: Pay any transfer fees required by the new host; this often includes renewing your domain for an additional year.
- DNS Settings: Review and configure your DNS settings to ensure they point correctly to your new hosting servers.
After initiating the transfer, keep an eye on your email for updates. The transfer can take anywhere from a few hours to several days, depending on the respective registrars. Stay informed of any messages that may require your action, as timely responses can expedite the process. once the transfer completes, do a thorough check to ensure that your website and its associated services continue to function seamlessly.
Post-Transfer Steps for Optimal Performance
Once your domain transfer is complete, it’s essential to ensure that everything is functioning optimally on your new host. First, check DNS settings to confirm they are pointing to the correct nameservers. This step is crucial to avoid downtime and ensure that visitors can access your site without interruption. Also, verify that all your website files, databases, and emails have been successfully migrated. You can do this by navigating to the respective directories in your new hosting environment and ensuring everything is in its proper place.
Next, conduct a thorough performance check on your website. Utilize tools like GTmetrix or Google PageSpeed Insights to analyze loading times and overall performance. If necessary, implement caching solutions or optimize images to enhance user experience. Additionally, make sure your SSL certificate is correctly installed to maintain security for your visitors. To summarize the key steps to follow after the transfer:
| Step | Action |
|---|---|
| 1 | Check DNS settings |
| 2 | Verify file and email migration |
| 3 | Run performance tests |
| 4 | Implement caching & image optimization |
| 5 | Confirm SSL installation |
In Conclusion
Conclusion: Successfully Transitioning Your Domain
transferring your domain to new hosting can seem daunting at first, but with the right steps and a clear roadmap, it can be a smooth and straightforward process. By understanding the key elements of domain management, preparing your current setup, and following the detailed steps we’ve outlined, you’ll ensure that your website remains accessible and performs optimally throughout the transition.
Remember, each hosting provider may have its unique procedures, so don’t hesitate to consult their support resources if you encounter any challenges along the way. With careful planning and attention to detail, you can take advantage of the benefits that come with a new hosting solution, whether it’s improved performance, better customer support, or enhanced features.
Thank you for joining us on this journey! We hope this guide has equipped you with the knowledge and confidence to execute your domain transfer with ease. If you have any questions or need further assistance, feel free to leave a comment below or reach out to our community—we’re here to help! Happy hosting!