Step-by-Step Guide to Setting Up Your VPS Server
Setting up a Virtual Private Server (VPS) can seem daunting, especially for those who are new to web hosting or server management. However, a VPS offers a blend of performance, flexibility, and control that shared hosting simply cannot match. Whether you’re looking to host a personal website, run a web application, or establish a robust development environment, understanding how to efficiently configure your VPS is essential. In this step-by-step guide, we will take you through the process of setting up your VPS server from scratch. By the end of this article, you will be equipped with the knowledge to manage your own server, tailor it to your specific needs, and ensure that it runs smoothly and securely. Let’s dive in and unlock the potential of your VPS!
Table of Contents
- Understanding Virtual Private Servers and Their Benefits
- Choosing the Right VPS Hosting Provider for Your Needs
- Configuring Your VPS: Essential Setup Steps and Best Practices
- Securing Your VPS: Tips for Enhancing Server Protection and Performance
- In Conclusion
Understanding Virtual Private Servers and Their Benefits
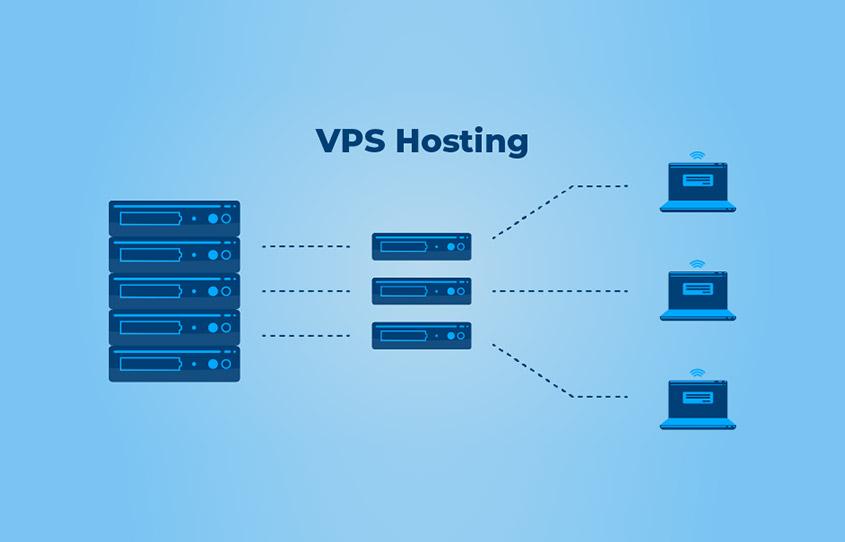
Virtual Private Servers (VPS) are a powerful solution for individuals and businesses looking for more control and flexibility than traditional shared hosting. A VPS operates by partitioning a single physical server into multiple virtual servers, each with its own dedicated resources. This means that users can enjoy greater stability, security, and performance. With a VPS, you have root access to your server, allowing you to install custom software, configure the operating system, and run applications without the limitations of shared environments. Additionally, the isolation provided by a VPS minimizes the risk of security breaches and performance issues that can affect all users on a shared server.
One of the key benefits of using a VPS is its scalability. As your website or application grows, you can easily upgrade your VPS resources without major disruptions. This flexibility makes VPS an ideal choice for businesses experiencing fluctuating traffic or rapid growth. Other notable advantages include:
- Cost-effectiveness: VPS offers greater resource allocation at a lower cost compared to dedicated servers.
- Customization: Tailor your server environment to meet specific needs, from software installations to security measures.
- Improved Performance: With dedicated resources, you can experience faster loading times and better site responsiveness.
Choosing the Right VPS Hosting Provider for Your Needs
When selecting a VPS hosting provider, it’s essential to evaluate multiple factors to ensure your choice aligns with your specific needs. Begin by considering the performance aspects, such as CPU power, RAM, and SSD storage. A high-performance server can handle traffic surges and demanding applications more efficiently. Additionally, check the uptime guarantees offered by the provider; a reliable host should ensure at least 99.9% uptime to keep your business running smoothly. Evaluate the customer support options available—24/7 support via multiple channels (live chat, phone, and email) can be crucial during emergencies.
Another critical aspect to assess is the scalability of the hosting plans. Make sure the provider allows for easy upgrades should your needs grow over time. Pricing structures vary widely, so consider what’s included in the package, such as backups and security features. It’s advisable to read customer reviews to gain insights into experiences with their service. Below is a simple comparison table that outlines features you may want to consider in your research:
| Feature | Provider A | Provider B | Provider C |
|---|---|---|---|
| Uptime Guarantee | 99.9% | 99.8% | 99.95% |
| Customer Support | 24/7 Live Chat | Email Only | 24/7 Phone & Chat |
| Starting Price | $15/month | $20/month | $18/month |
Configuring Your VPS: Essential Setup Steps and Best Practices
Setting up your VPS (Virtual Private Server) is crucial for ensuring it runs efficiently and securely. Start by updating your system to the latest software packages. You can typically achieve this by running commands such as sudo apt-get update and sudo apt-get upgrade (for Ubuntu or Debian) to ensure your server has the latest security patches and features. Following this, configure your firewall to protect your server from potential threats. Utilizing iptables or tools like UFW (Uncomplicated Firewall) allows you to define rules that restrict traffic and safeguard your server’s integrity. Don’t forget to enable only the necessary ports, such as 22 for SSH, 80 for HTTP, and 443 for HTTPS.
Next, secure your SSH access by disabling root login and changing the default SSH port. This simple adjustment can deter many automated attacks. Additionally, consider setting up key-based authentication for a stronger security posture—generate a key pair and add the public key to your server. Implementing regular backups is just as vital; integrate a robust backup solution to protect your data from unforeseen circumstances. A basic schedule might include daily incremental backups and weekly full backups, allowing you to restore your VPS quickly in case of failure. Below is a simple table outlining suggested backup frequencies:
| Backup Type | Frequency | Retention Period |
|---|---|---|
| Incremental Backup | Daily | 1 Month |
| Full Backup | Weekly | 3 Months |
Securing Your VPS: Tips for Enhancing Server Protection and Performance
To ensure the safety and efficiency of your VPS, it’s essential to implement a range of protective measures. Start by regularly updating your server software to shield against vulnerabilities, which can be easily exploited by cyber attackers. Additionally, consider the following practices:
- Enable a firewall: Utilize tools like UFW or iptables to control incoming and outgoing traffic.
- Implement SSH key authentication: Replace password authentication with SSH keys for a more secure login process.
- Disable root login: Prevent direct root access by configuring SSH to require a non-root user for elevated permissions.
- Use fail2ban: Install this tool to protect against brute-force attacks by blocking IPs after several failed login attempts.
Performance also plays a crucial role in server reliability. Optimize your server settings to facilitate faster processing and reduce latency. You can focus on:
- Monitoring resource usage: Use tools like top, htop, or VMStat to keep an eye on CPU, memory, and disk I/O.
- Configuring caching: Implement caching mechanisms such as Redis or Memcached to enhance application performance.
- Upgrading server specifications: If affordable, consider upgrading RAM or switching to SSDs for significant performance improvements.
| Security Measure | Description |
|---|---|
| Firewall | Controls access to and from your server. |
| SSH Key Authentication | Enhances login security. |
| Disabling Root Login | Prevents unauthorized access. |
| fail2ban | Blocks IPs after failed attempts. |
In Conclusion
Conclusion
Congratulations! By following this step-by-step guide, you’ve successfully set up your VPS server, equipped to handle your projects with efficiency and reliability. Whether you’re hosting a website, developing applications, or managing a database, a well-configured VPS can provide the freedom and flexibility you need. Remember, the journey doesn’t end here. Regular maintenance, security updates, and performance monitoring are crucial to keep your server running smoothly.
As you embark on this new venture, don’t hesitate to explore further by optimizing your server settings or expanding your skills with advanced configurations. The world of virtual private servers is vast and full of opportunities. Stay informed, keep learning, and enjoy the control that comes with managing your own server environment!
If you found this guide helpful, feel free to share your experiences or ask any questions in the comments below. Happy hosting!